Building a Model
The Model Building part of the Analytics Studio uses SensiML’s AutoML to build a model that gives you control of the features you want in your device. For example, if you build an algorithm that detects your events with 100% accuracy, the algorithm may use more resources. But by tweaking parameters in the AutoML settings you might find you can get an algorithm that uses half as many resources, while still getting 98% accuracy. You can configure SensiML’s AutoML process to maximize accuracy while fitting a within a desired memory constraint. This is a powerful concept that can save you a lot of time and money.
The model building process is represented as Pipelines. Each pipeline is a sequence of steps representing the process of data transformation during model building.
Pipelines
A pipeline is a container for a series of data processing steps and contains the blueprint for how your model will be built. It contains the sensor data input parameters, transforms, feature generators, feature selectors, feature transforms and classifiers.
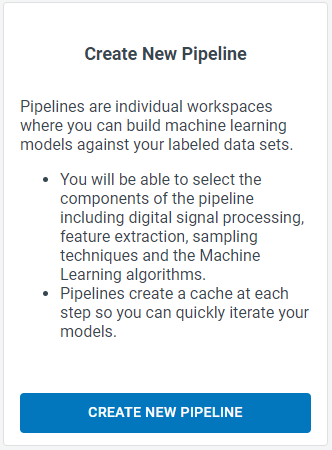
Creating a Pipeline
Click Create New Pipeline to create a pipeline.
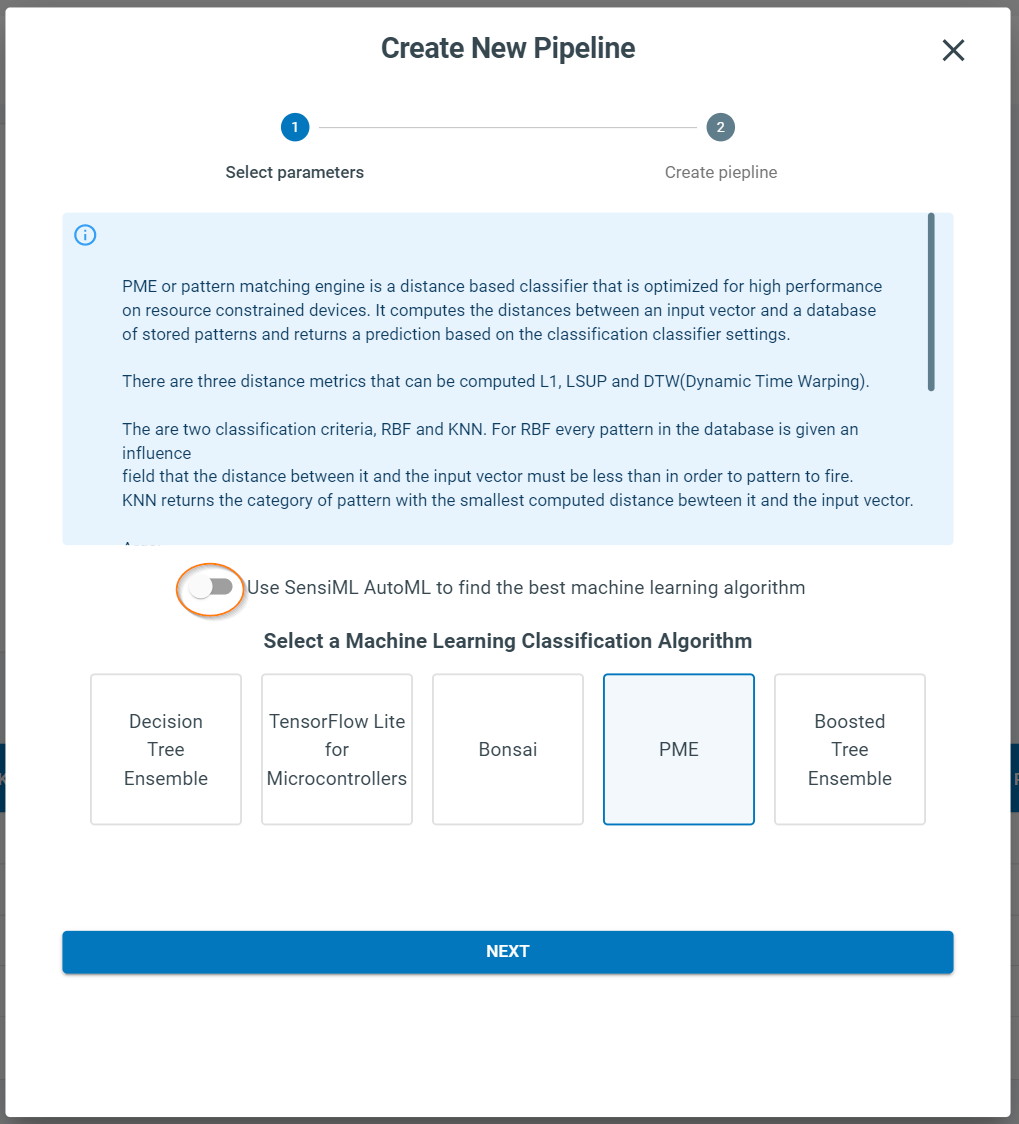
Toggle the Use SensiML AutoML setting to select a custom classifier or you can use SensiML AutoML to automatically find a classifier.
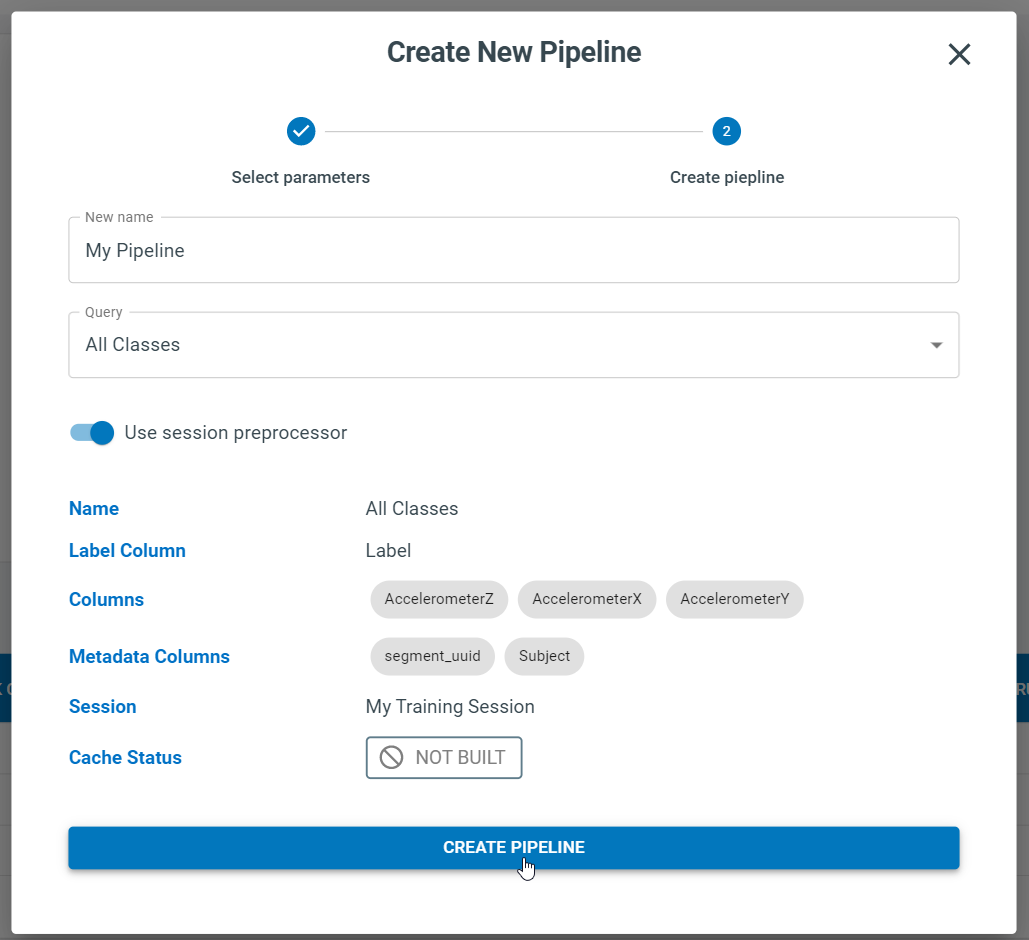
Set your pipeline name and query and click Create Pipeline.
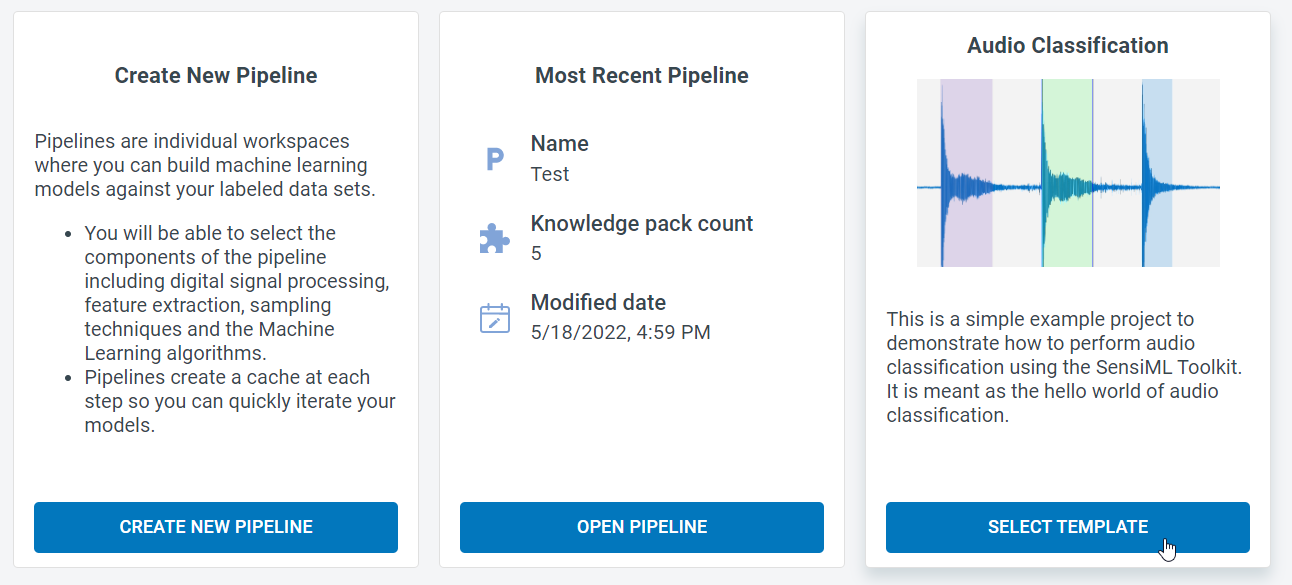
Creating a Pipeline with Pipeline Templates
Pipeline templates give you a starting point for building a model with similar style datasets. Pipeline templates speed up the model building process by providing a blueprint and common parameters for you to build a model with your dataset without needing to start from scratch.
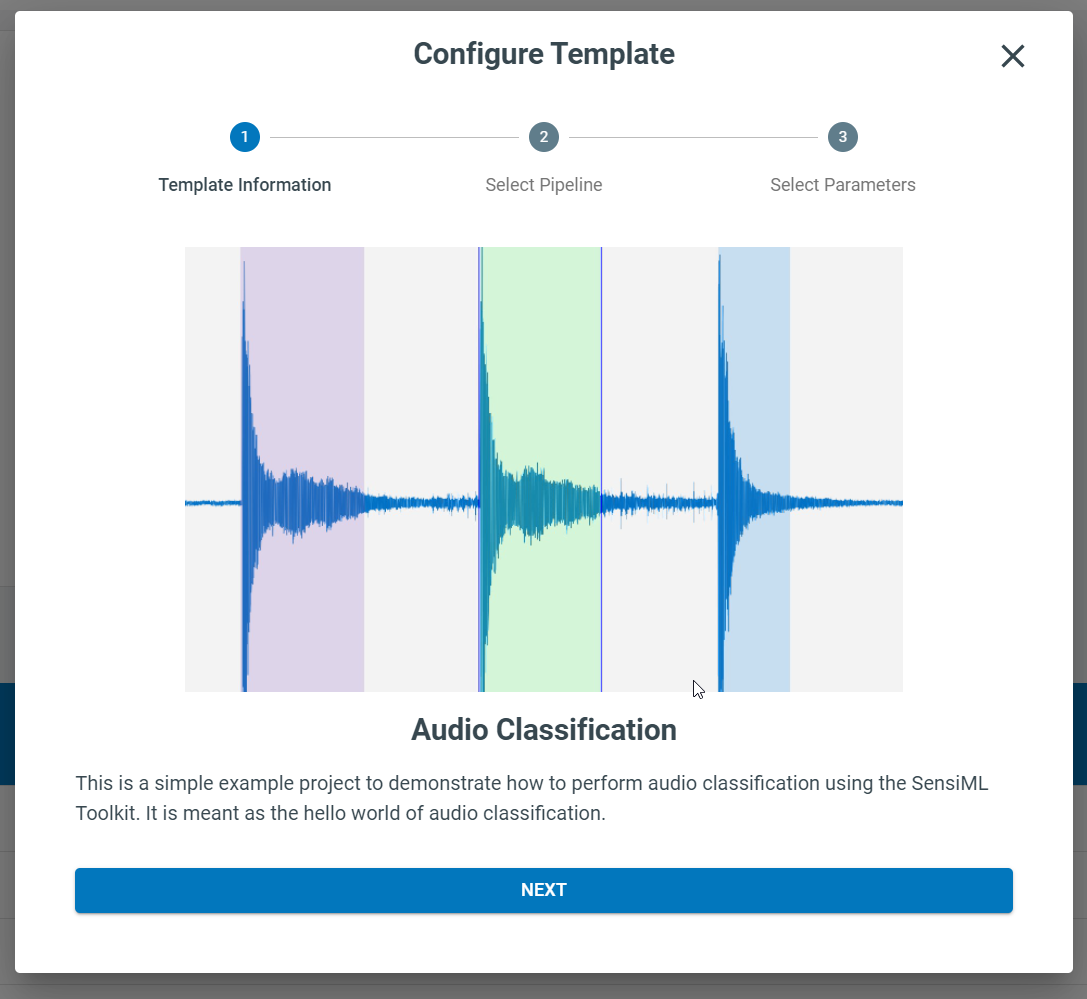
Find a template that matches your dataset and click Select template.
Click Next to start configuring the pipeline.
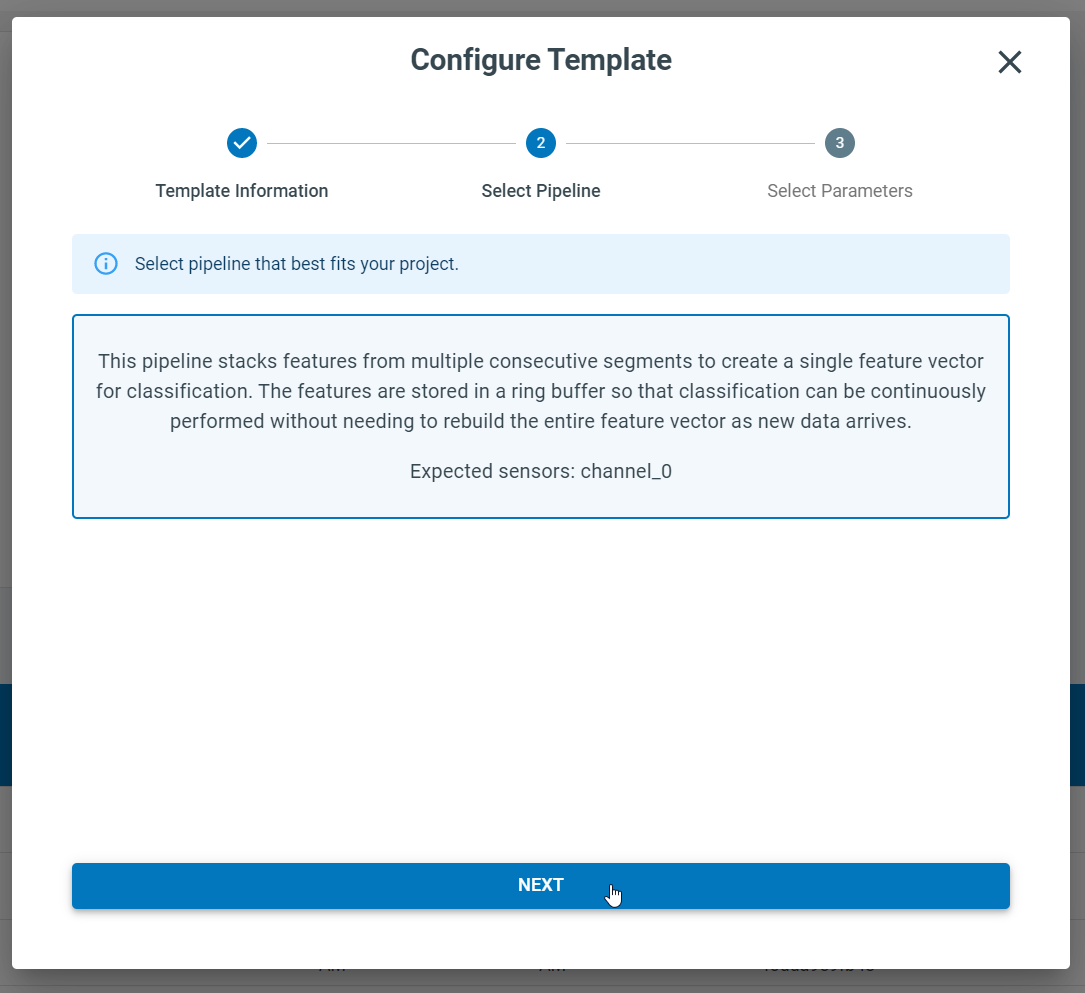
Set a pipeline type and click Next.
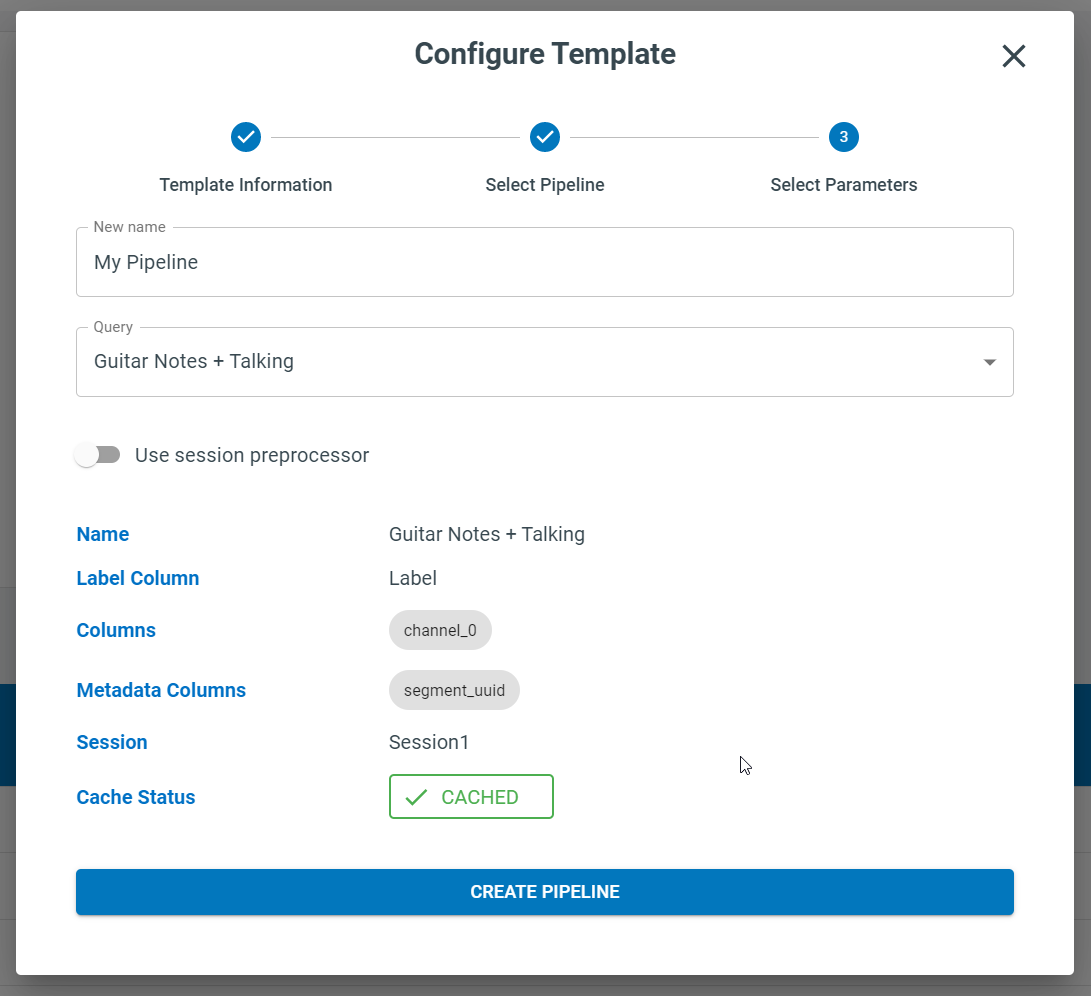
Set your pipeline name and query and click Create Pipeline.
Pipeline Properties
Let’s take a deeper look at some of the other properties in the Build Model screen.
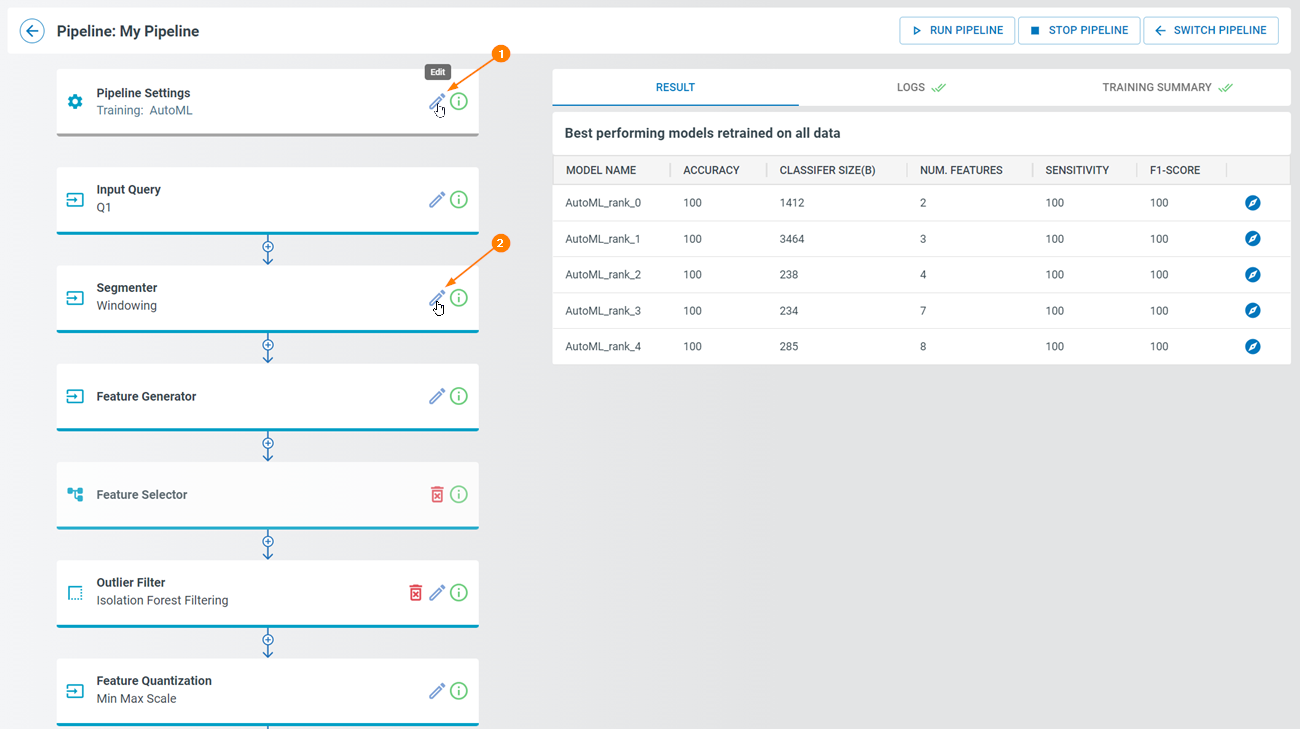
The Pipeline Settings step lets you set properties that tell the Analytics Studio how to optimize/prioritize the way it builds your model. This lets you prioritize specific training algorithms/features or set a size limit on the classifier if your device is limited on SRAM. [1].
Edit the parameters for the a step in the pipeline builder [2].
Optional steps can be added. Some of them can be added more than 1 time.
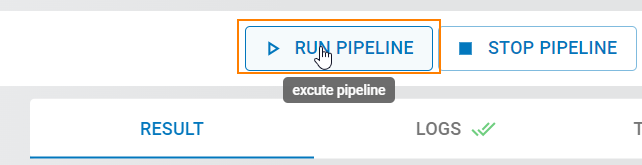
Click Run Pipeline and the Analytics Studio will automatically build you a model to detect your events. This is where SensiML’s AutoML finds the features needed to build an algorithm that will run on your device.
Once the pipeline is complete it will display 5 models in the AutoML Results view.
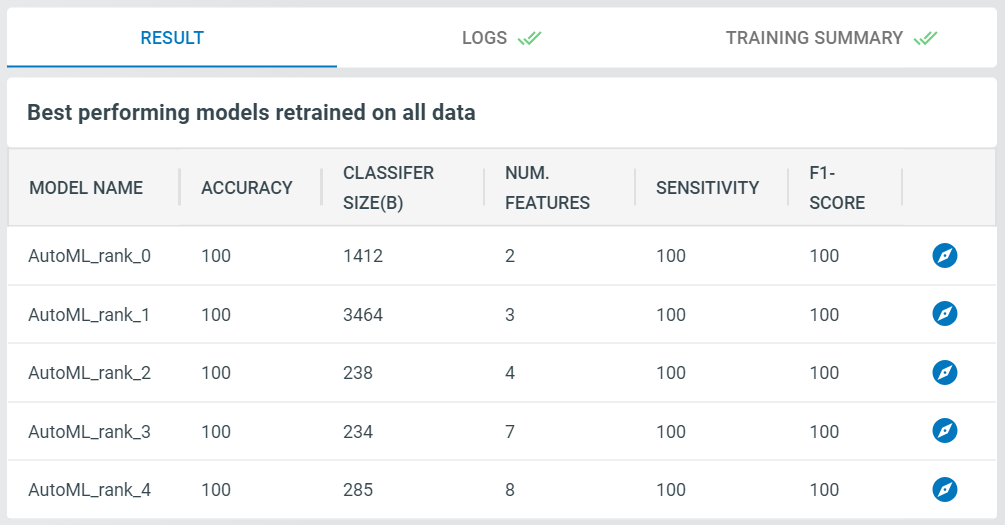
There are several summary statistics for each model. You can use this information to select a model that supports your device’s resources while providing the level of accuracy your application needs. Keeping in mind that typically, there is an accuracy vs resource usage trade off, where the more resources you allocate to modeling, the higher accuracy of a model that can be built.