Arduino Nano 33 BLE Sense
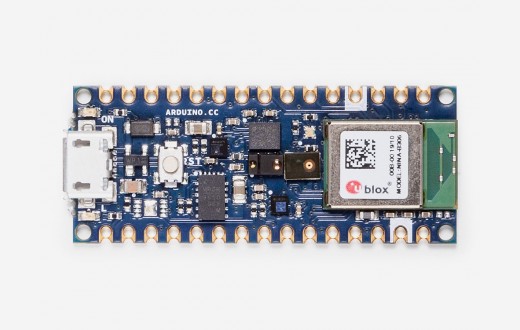
The Arduino Nano 33 BLE Sense combines a tiny form factor, different environment sensors, and the possibility to run AI using TinyML and TensorFlow™ Lite. Whether you are looking at creating your first embedded ML application or you want to use Bluetooth® Low Energy to connect your project to your phone, the Nano 33 BLE Sense will make that journey easy.
This guide will go over how to setup the Arduino Nano 33 BLE Sense firmware for data collection or recognition. Once your device is setup, you can find a tutorial on how to use the SensiML Toolkit software in the Getting Started Tutorial.
PlatformIO
Arduino firmware in this guide is flashed using the Arduino built-in flashing tools. For building the firmware, we have chosen to use PlatformIO as the main interface for building firmware for Arduino boards which can be found at https://platformio.org/. It allows the user ease of access to change and add build flags, as well as allowing for multiple build environments.
PlatformIO can be installed into your favorite editor or run from the command line. We will use Visual Studio Code in this guide, PlatformIO’s recommended editor.
Example Firmware
You can find examples of data collection or recognition firmware below.
Data Collection Firmware
Sensors |
Protocol |
Download |
Version |
|---|---|---|---|
Accelerometer/Gyroscope (119 Hz) |
Simple Stream V1.0 (USB Serial) |
||
Accelerometer/Gyroscope (119 Hz) |
Simple Stream V1.0 (BLE) |
||
Audio (16KHz) |
Simple Stream V1.0 (USB Serial) |
Note
We provide the binaries above for testing data collection quickly. You can build your own binaries for additional sample rates by building from source code in the SensiML GitHub at https://github.com/sensiml/nano33_data_capture/.
Knowledge Pack/Recognition Firmware
Knowledge Pack recognition firmware can be found in the SensiML GitHub at https://github.com/sensiml/nano33_knowledge_pack/.
Flash Instructions
Follow the steps below to flash data collection firmware or recognition firmware to your device.
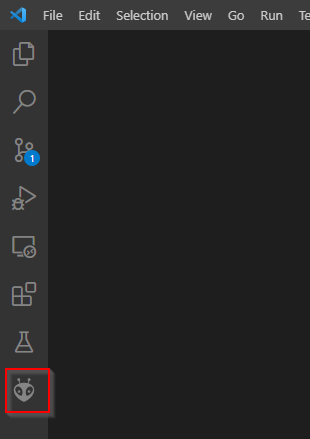
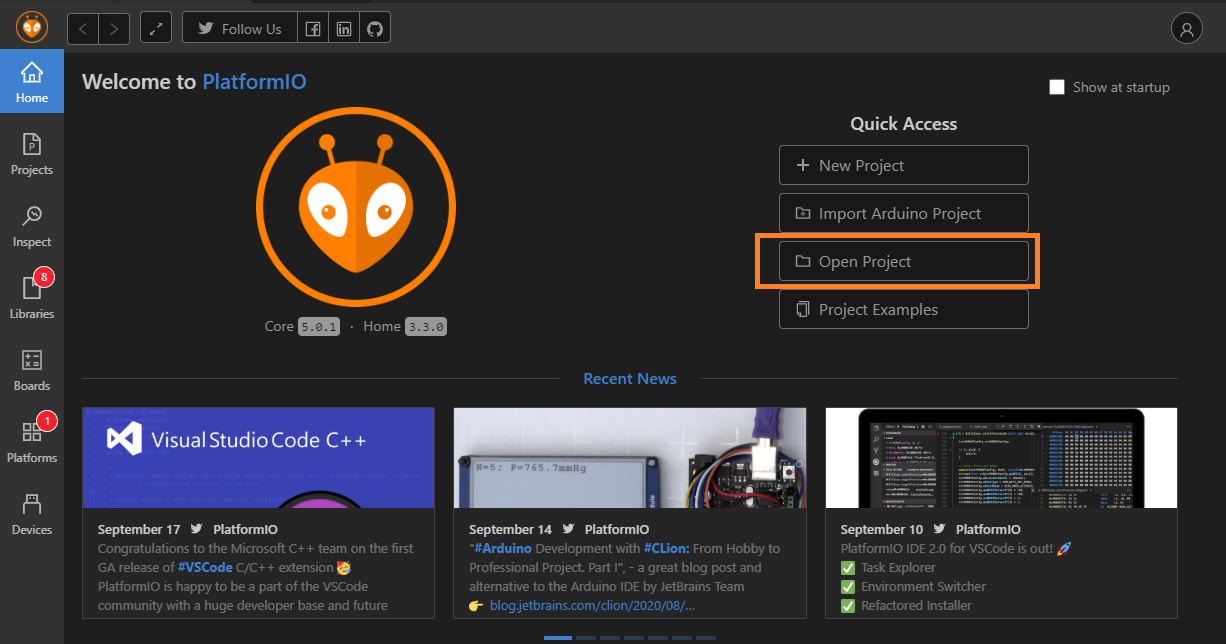
Open the PlatformIO Home page in VS Code
Click Open Project and select the data collection or recognition source code location on your computer.
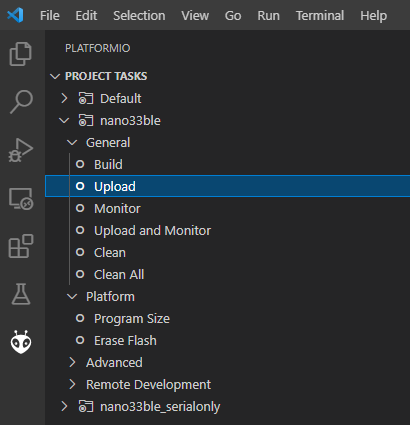
PlatformIO will pull down the libraries and packages needed to build, this may take several minutes the first time building. Your project will now appear in the PlatformIO Project Tasks menu.
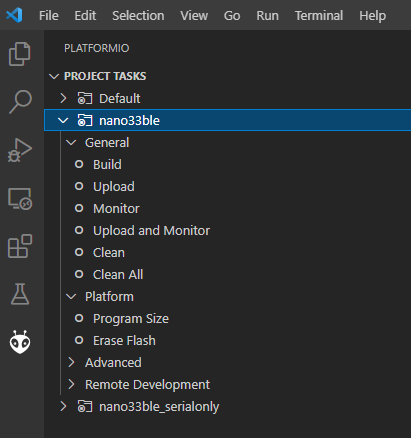
Click Upload in your selected project environment to build the firmware. Make sure your device is plugged in via a USB port.
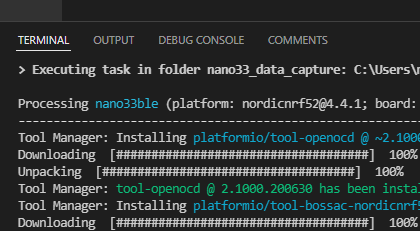
PlatformIO will automatically detect the proper COM port (Windows) or /dev/ port (Linux) and upload to your device. You can see the status in the Terminal Window.
Using TensorFlow Lite for Microcontrollers in a Knowledge Pack
When running a model built using TensorFlow Lite, another environment is provided in the Knowledge Pack code base. The environment env:nano33ble_with_tensorflow will automatically link this in with the same code base.
Changing IMU Frequency/Sample Rate
The frequency/sample rate that IMU data collection firmware outputs is set at compile-time.
Open
include/sensor_config.h.Update
#define ACCEL_GYRO_DEFAULT_ODRto set the frequency. Note: The default value for both is ACCEL_GYRO_ODR_119HZ
Enabling Audio
Audio is disabled by default. Follow the instructions below to enable audio.
Open
include/sensor_config.h.Update
#define ENABLE_AUDIOto 1 to enable audio.
Note: IMU and Audio cannot be enabled at the same time. Enabling Audio will disable the IMU.
Adding Sensors
The Nano 33 BLE Sense has more sensors than just the IMU and Audio.
The data capture code provided here is meant to be an example for the following:
Adding Sensors in the order intended to be run in a model
Creating the JSON configuration message so that the Data Studio knows what data is coming in
Sending sensor data out in the same order specified by the configuration message.
Adding another sensor from the board takes the following:
Adding the appropriate library to
platformio.iniin thelib_depssection.Adding a setup_sensor() function to main.cpp (or elsewhere). This setup function will add the sensor column names to the configuration message. The highest sample rate will be used when sending data out, regardless of if the sensor has an update.
Adding an update_sensor() function to main.cpp (or elsewhere). This function will add the sensors in the same order as the configuration message specifies.
Adding New Sensors to the Data Studio
The Data Studio includes a built-in device plugin for the Nano 33 BLE Sense IMU and Audio sensors. You can add additional sensors to your board and use them for data collection in the Data Studio by creating a custom device plugin. You can create a device plugin by defining your sensor information in an SSF file and importing it to the Data Studio. We provide an example SSF file for your device plugin named nano33_custom.ssf in the SensiML GitHub repository at https://github.com/sensiml/nano33_data_capture/.
For more details on defining SSF file properties and implementing the Simple Streaming specification in your firmware see the Adding Custom Device Firmware Documentation.